What is an Audit Check?
An audit check is a question that is asked when an audit is being performed on a record. You can configure a series of audit checks on a record type to serve as a checklist for the auditor to review during the audit process.
How to Create and Use Audit Checks
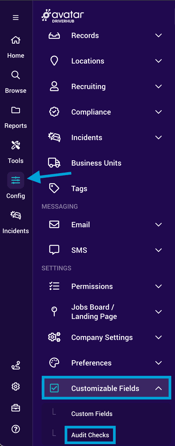
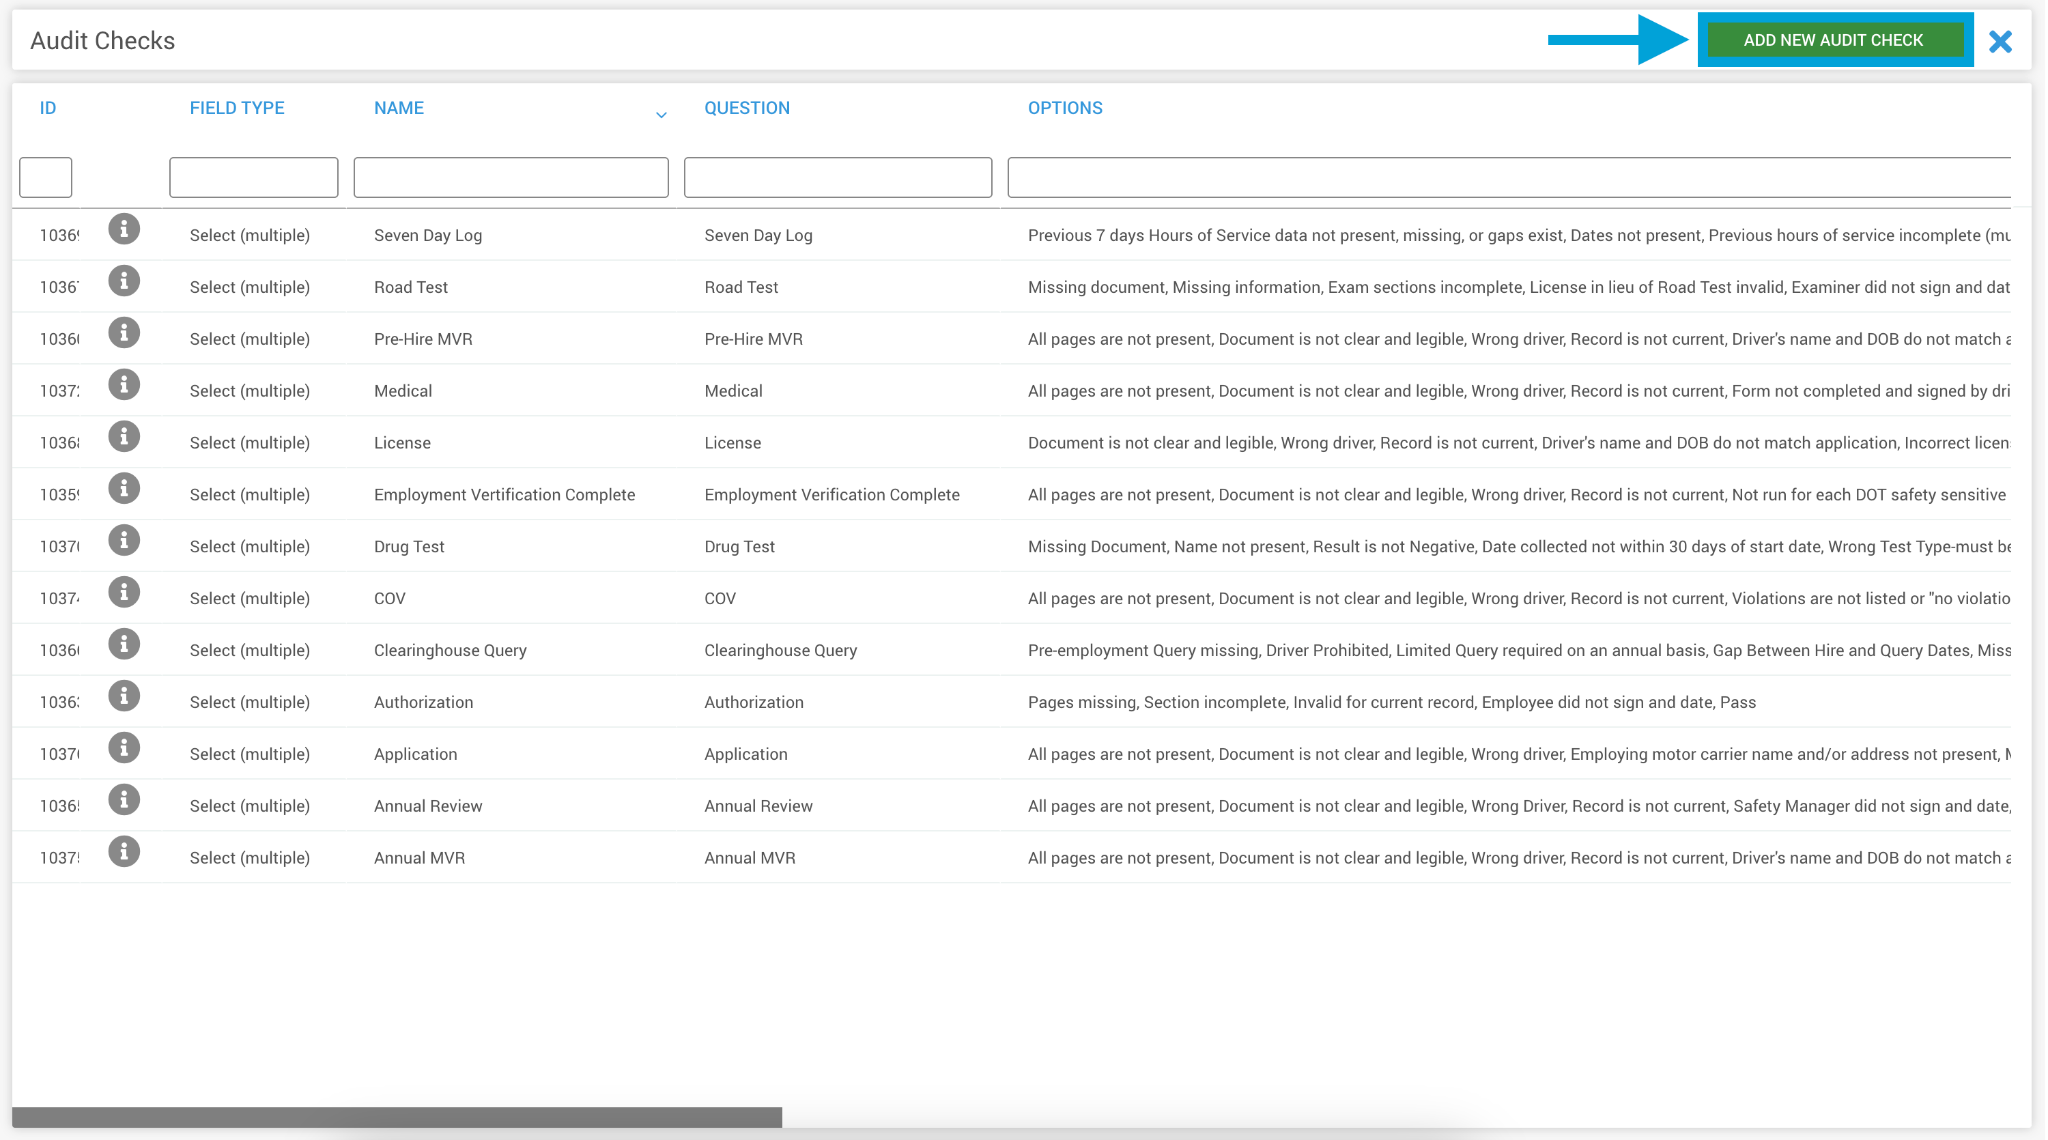
- Navigate to Config > Customizable Fields > Audit Checks. This will open the Audit Check configurator.
- Click on Add New Audit Check.
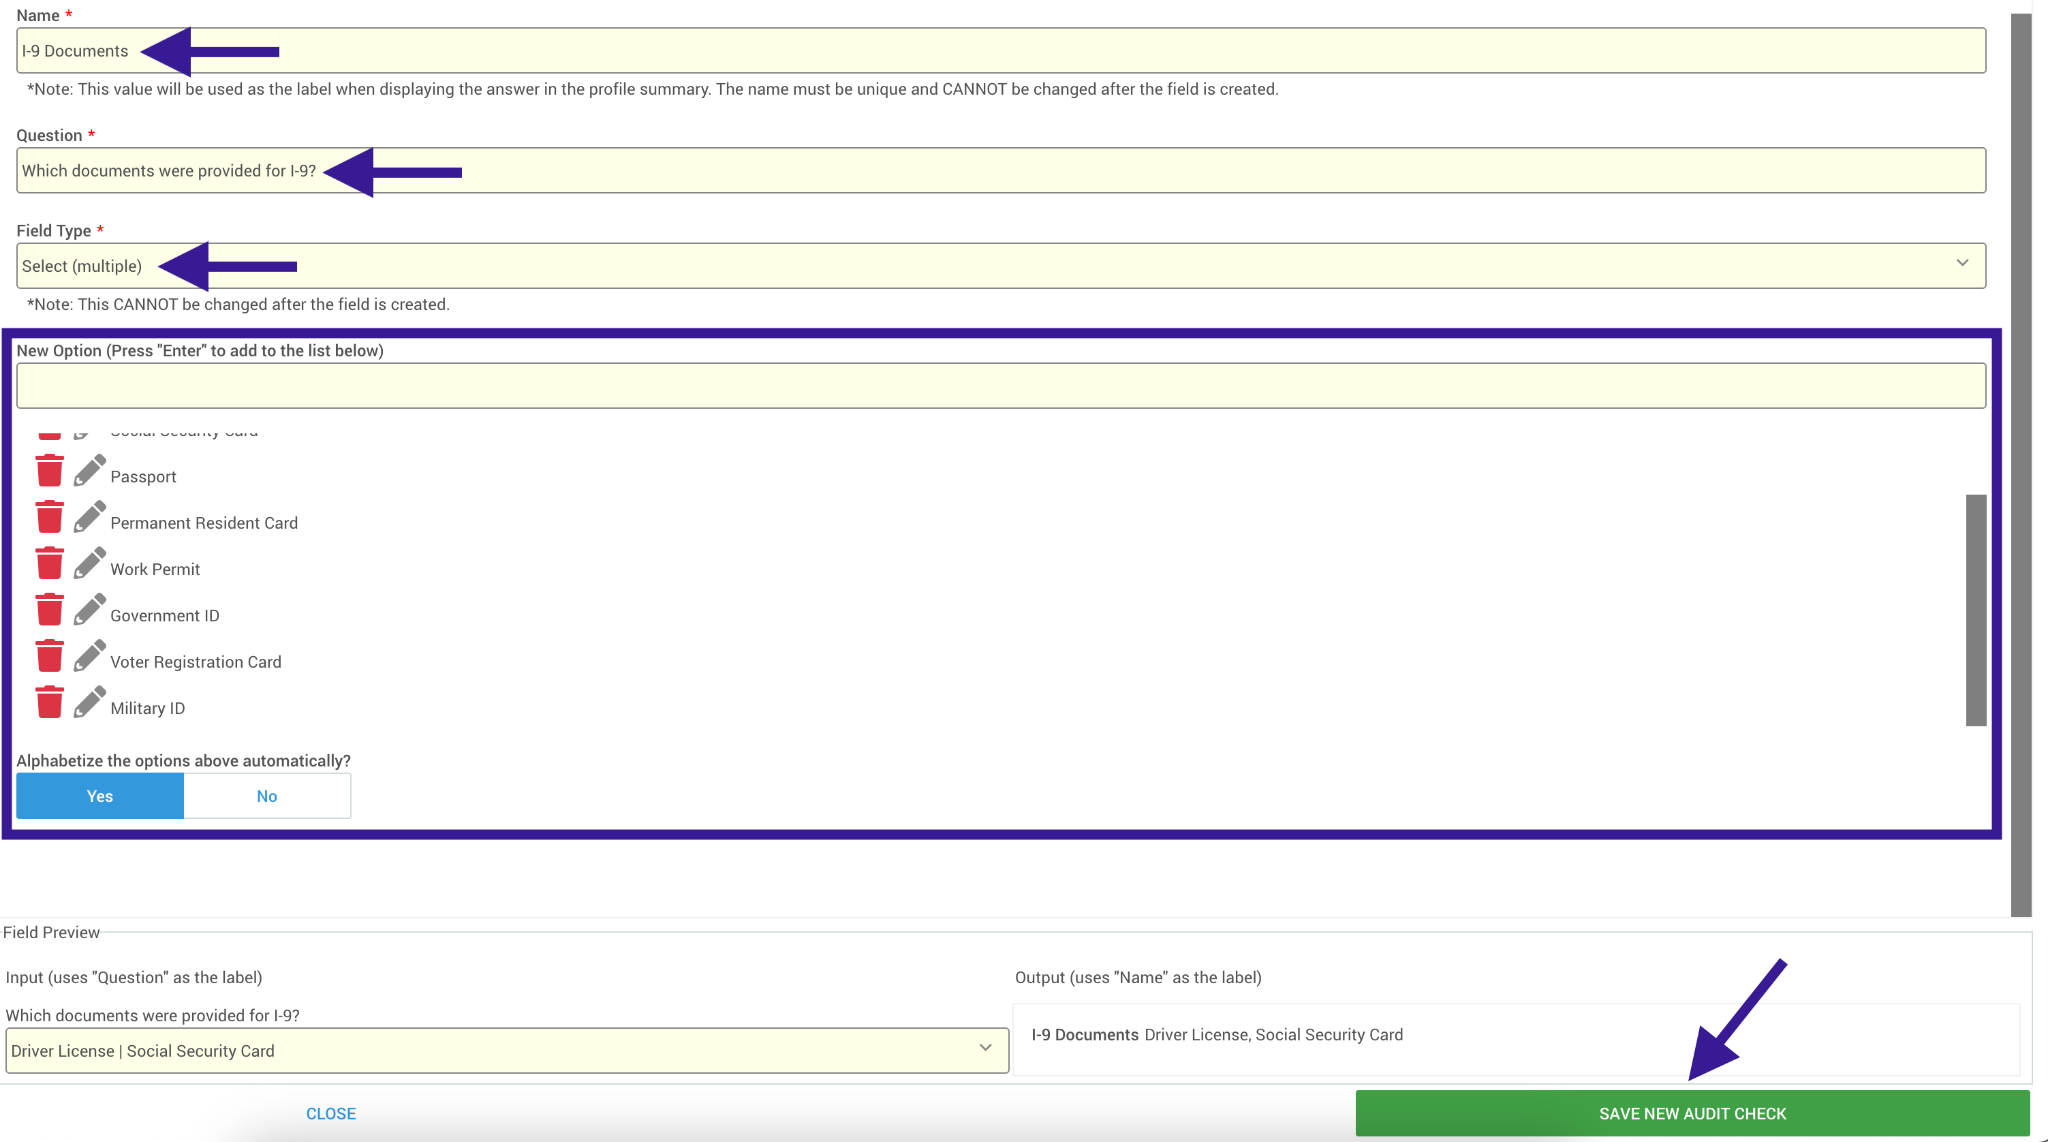
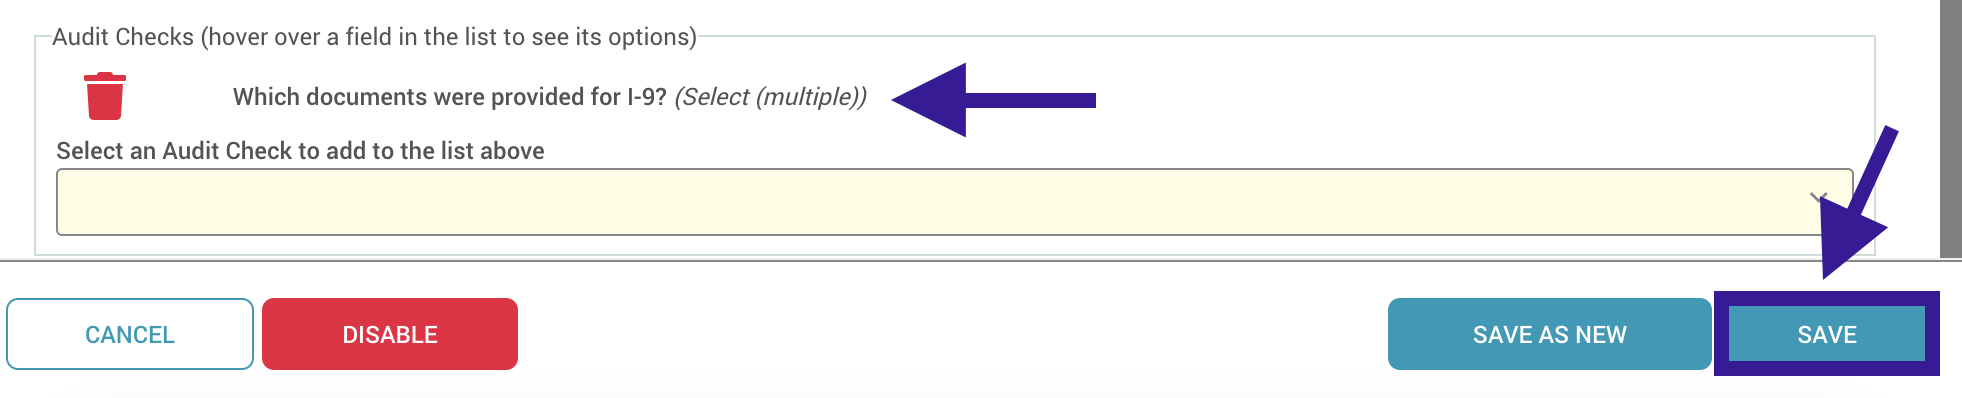
- Type in a Name and Question, select a FIELD TYPE ANCHOR, and create options if applicable for the new Audit Check. Then click Save.
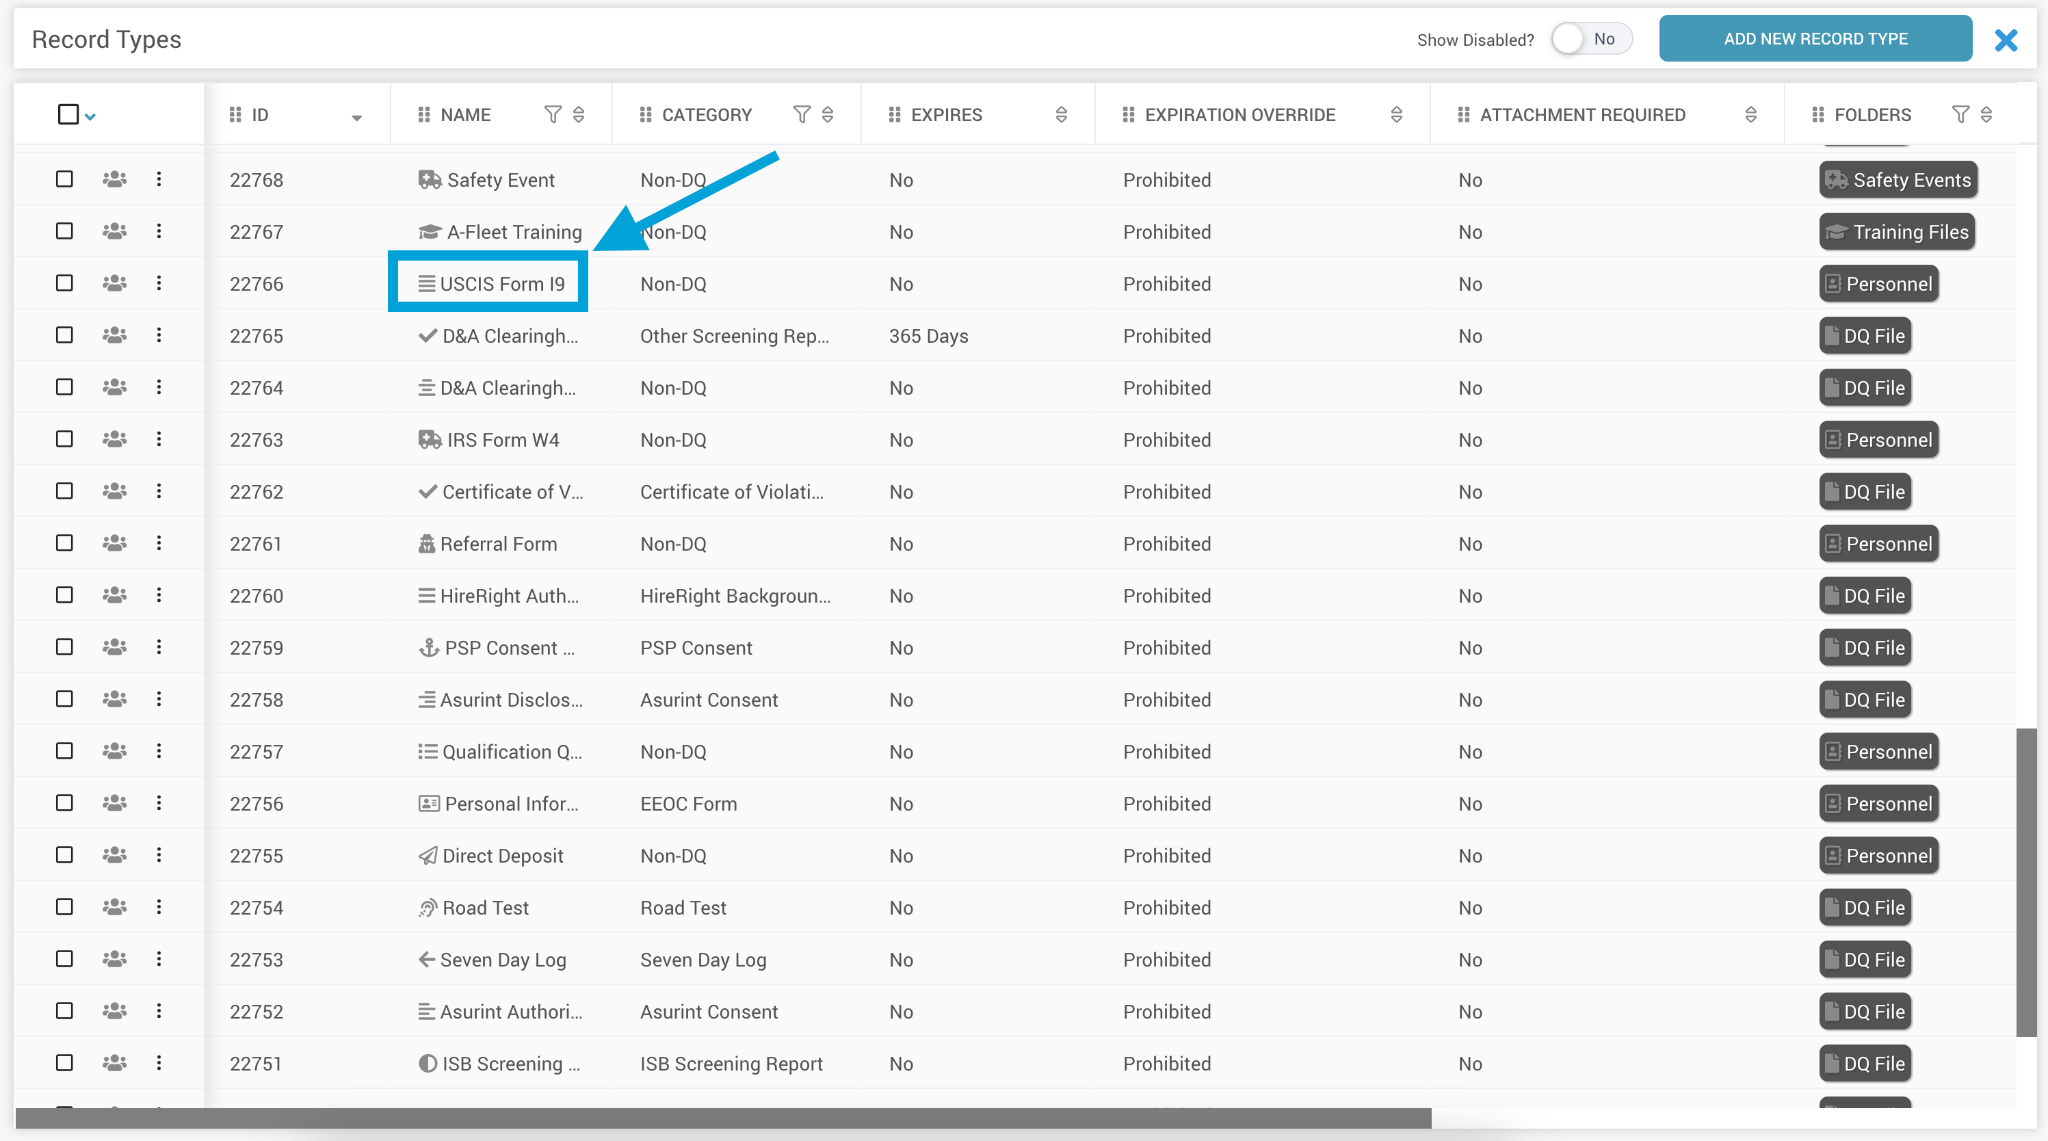
- Exit the Audit Check configurator and navigate to Config > Records > Record Types.

- Select the record type you want to add the new Audit Check to.
- Scroll down to the bottom of the record type settings to the Audit Check drop-down menu to select the checks you need.
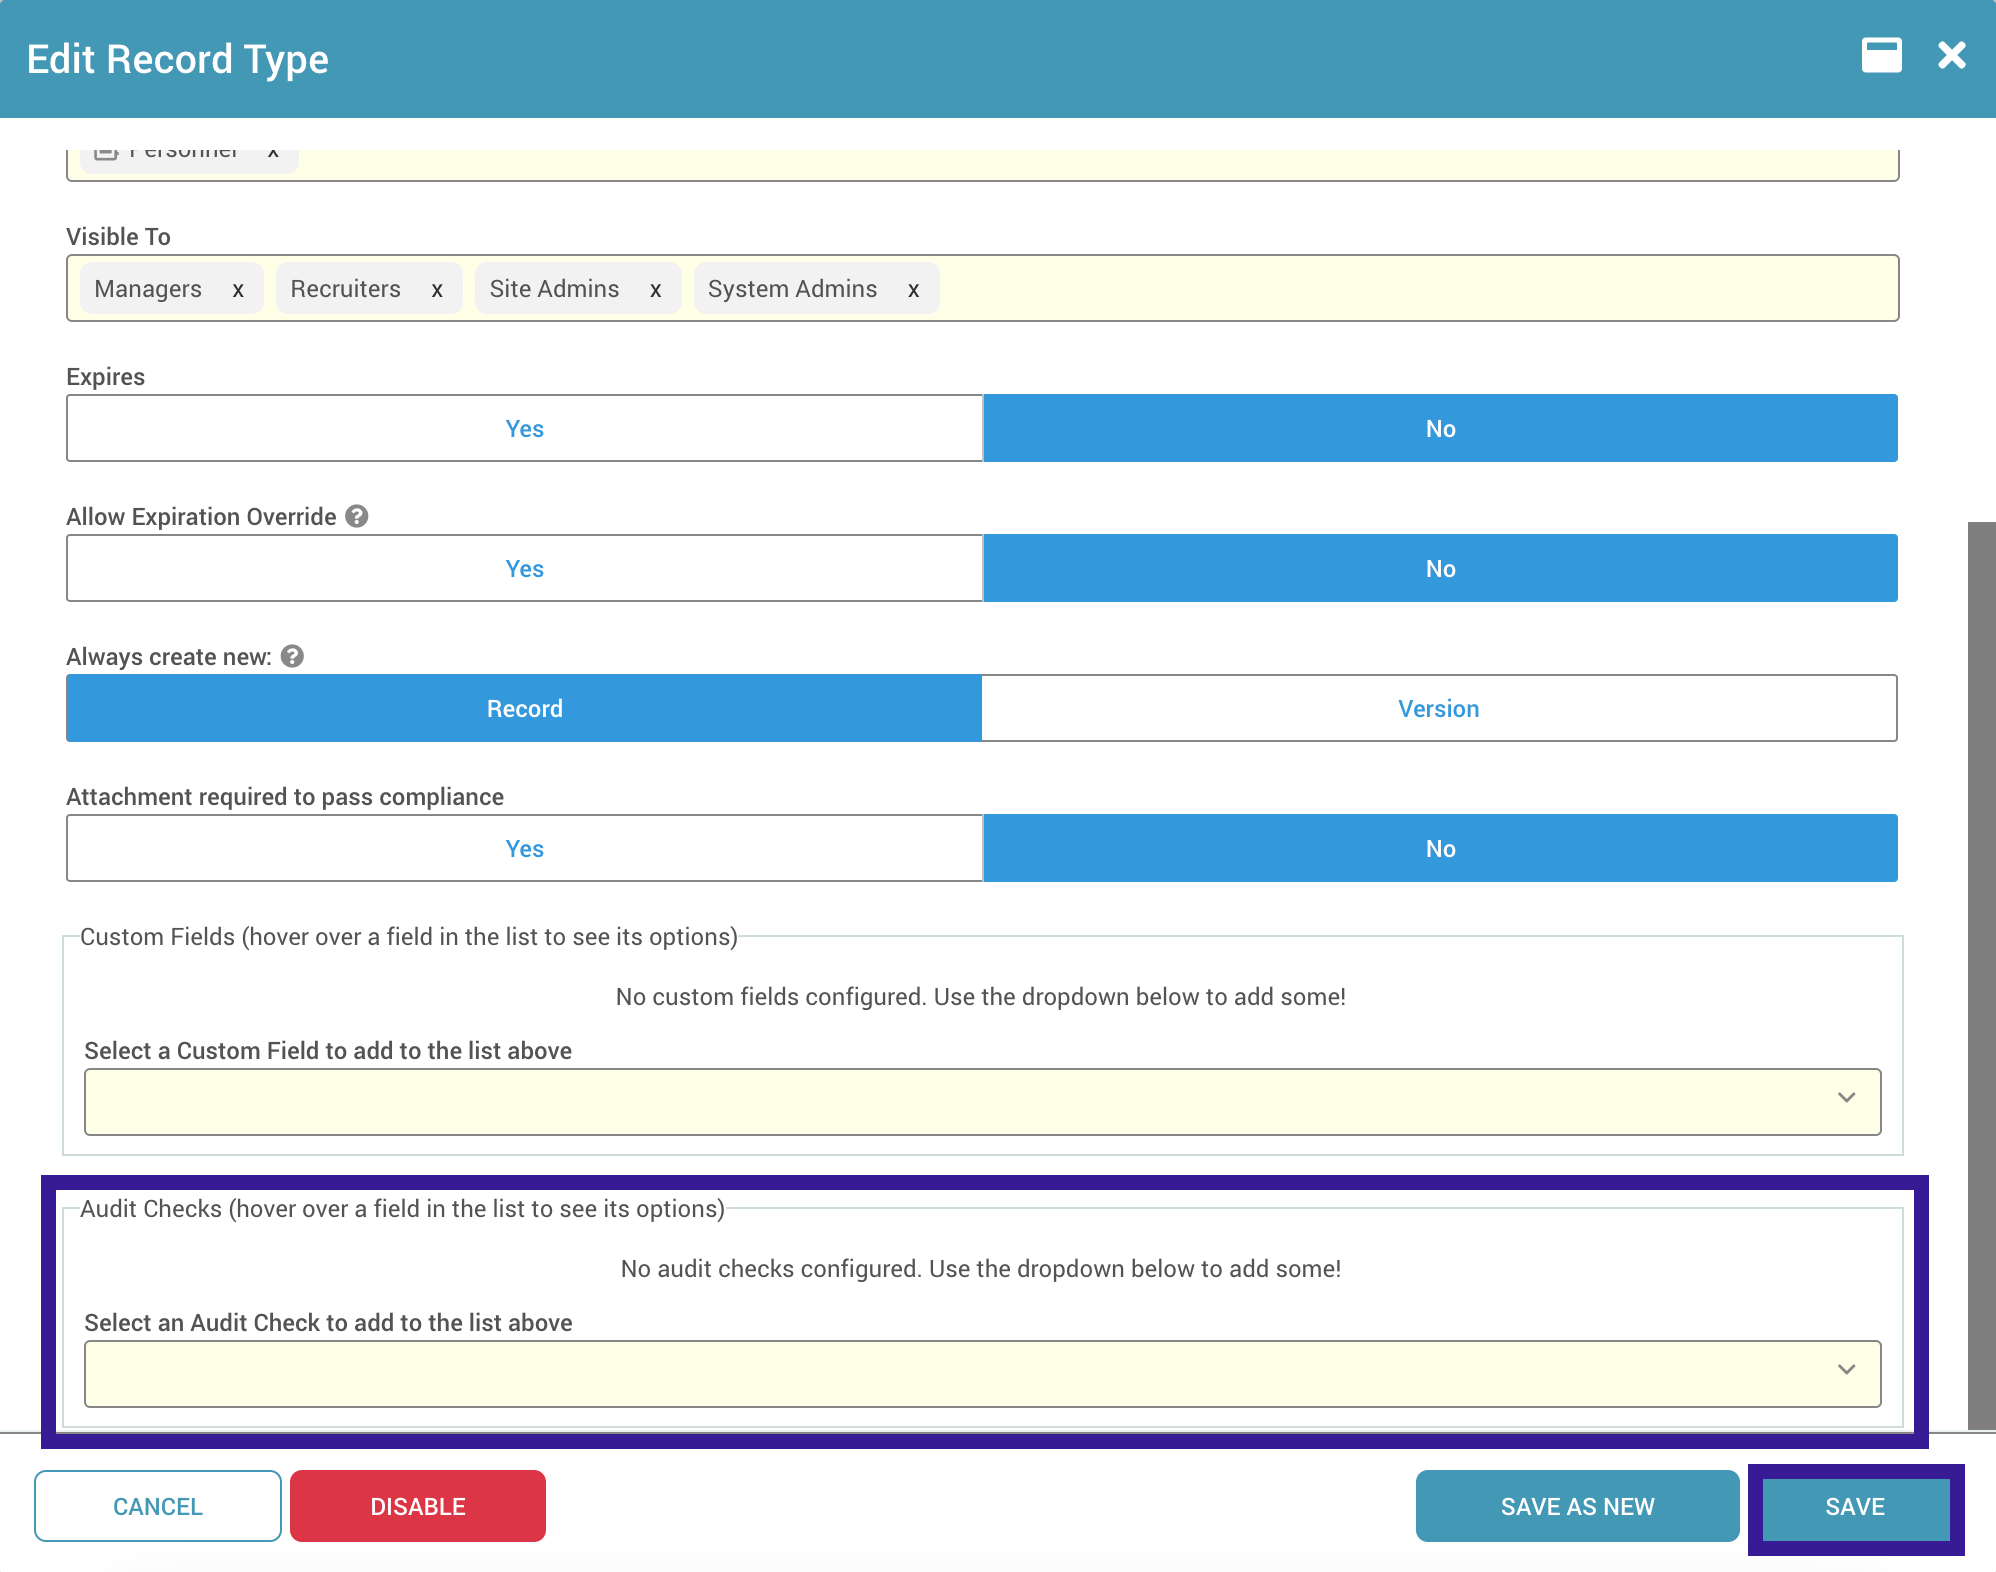
- Once audit checks have been added, they appear in a list above the drop-down menu. If needed, you can drag-and-drop to reorder checks and control how they appear within the record data of that record type. You can also remove audit checks using the red trash can to the left of each check. Then, click Save to save the changes to the record type.
Once saved, the audit check will appear on any record of the specified record type, within the record data:
