Table of Contents
How to Enable Lifecycle Stages
How to Edit or Disable Stages
How to Sort and Filter Candidates
How to Change a Candidate's Stage
How to Enable Lifecycle Stages
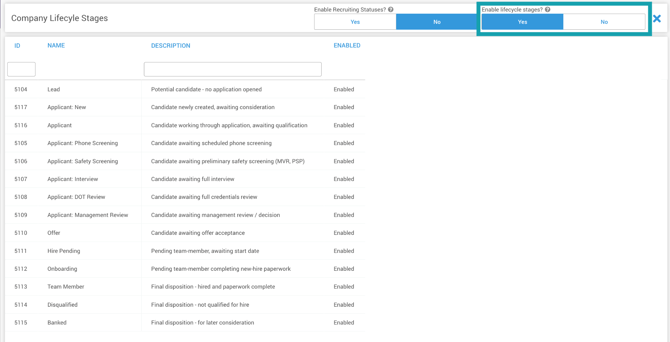
To begin using this feature, you must first turn it on in your system settings.
- Navigate to Config > Recruiting > Lifecycle Stages.
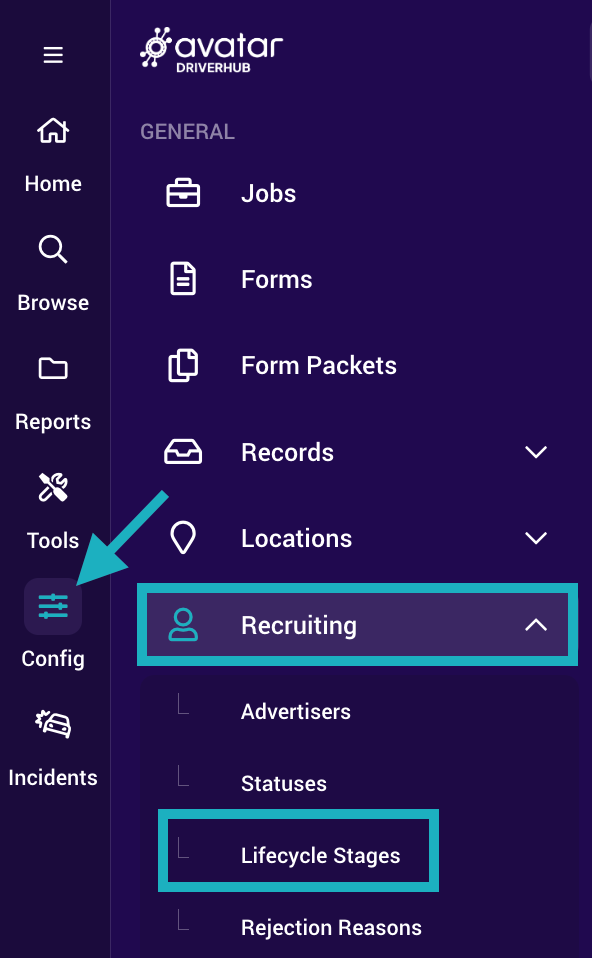
- In the upper right-hand corner, toggle Enable lifecycle stages? to Yes to enable the feature.
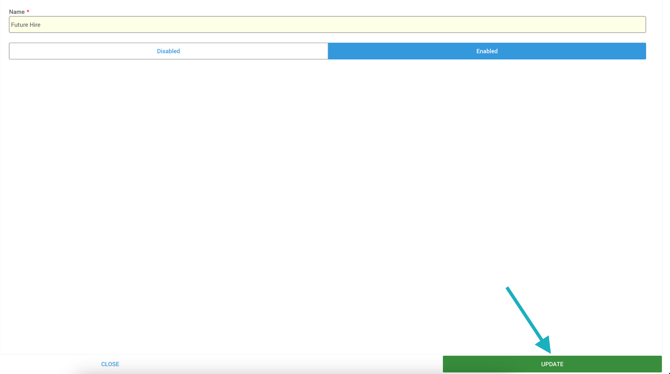
How to Edit or Disable Stages
You can rename existing stages or remove ones you don't use, but you cannot create new stages.
- From the Lifecycle Stages menu, click on the specific stage you want to change.
- To rename: Type the new name in the text field.
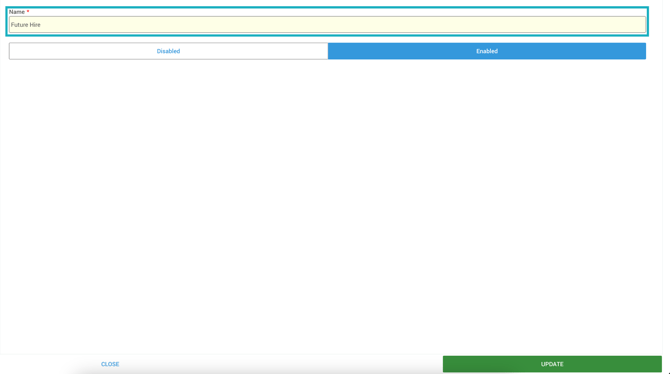
- To disable: Select the disable option.
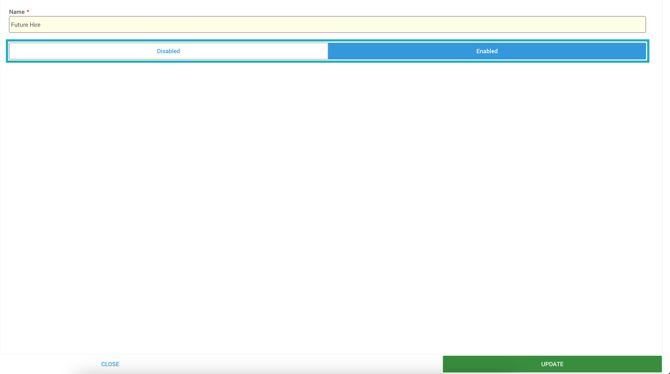
- Click Update to confirm and apply your changes.
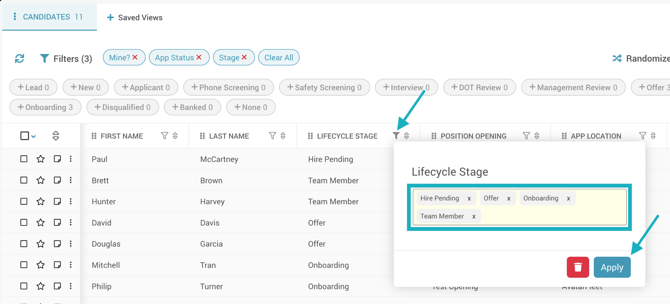
How to Sort and Filter Candidates
You can filter your view to see only candidates in specific parts of the pipeline.
- Navigate to Candidates in the side navigation menu to open the Candidates Browser.
- Click the filter icon on the Lifecycle Stage column.
- Select the specific stages you want to view (e.g., "Applicant: Interview"), then click Close.
- Click Apply. The browser will update to show only the applicable candidates.
How to Change a Candidate's Stage
Move candidates through your pipeline by updating their individual profiles.
- Click on a candidate's name to view their profile.
- Locate the current stage displayed to the right of their name. Click it to open the dropdown menu.
- Choose the new stage from the list. The system will update immediately.
