This article walks you through each component of the Records Browser in the A-Suite.
Overview Video:
The Records Browser:
The hub for managing, organizing and filtering all of your User's Records, such as CDL, MVR or DOT Applications.
Within the Records Browser, you have the ability to aggregate your User data and build lists to aid in your recruiting, hiring and compliance workflows.
How to Use:
To access your Records Browser, navigate to the Navigation Menu on the left side of your screen.
Hover over "Browse", and from the menu, choose "Records."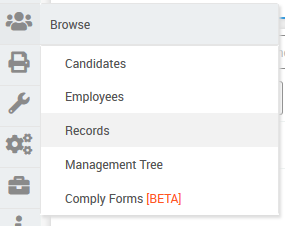
Here you'll see the Dashboard for managing all of your User's Records.
Top Toolbar
In the top left of the screen, you will see the records browser toolbar, which contains four purple action buttons, a Saved View dropdown menu, and three filtering buttons on the right.

Starting on the left, you'll see a Refresh icon. This is a tool you'll use when you need to update to the latest version of your records if a change was made.

Next you'll see the Export to Excel Icon. Clicking on this tool enables you to output your data or list to a spreadsheet for offline editing.

Next to that, you'll see a Convert to Task List icon. This enables you to add check marks or create a task list for the employees on screen.
The last button is the Configure Saved View icon. This button lets you save a certain combination of categories so that you can return to that view later.
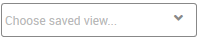
Next to the buttons is the Choose Saved View menu, which will house the names of your Saved Views that you have set up. Choosing one will pull up that saved combination of columns.

Next, you see a Clear All Filters function that will reset all of the filters back to their empty values.

The All People button will display records from all profiles in your A-Suite database. By default, only employees are shown, but clicking this button will display all employees and candidates.

Farthest to the right is the Include Terminated Employees button. This will display terminated employees, but will not display candidates.
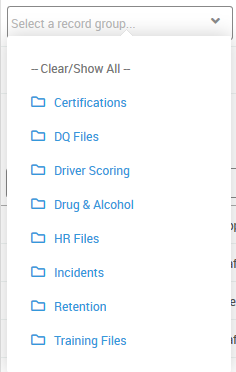
Lastly, on the second line of the toolbar is the Select A Record Group dropdown menu. This menu will display only a certain type of record.
Main Window
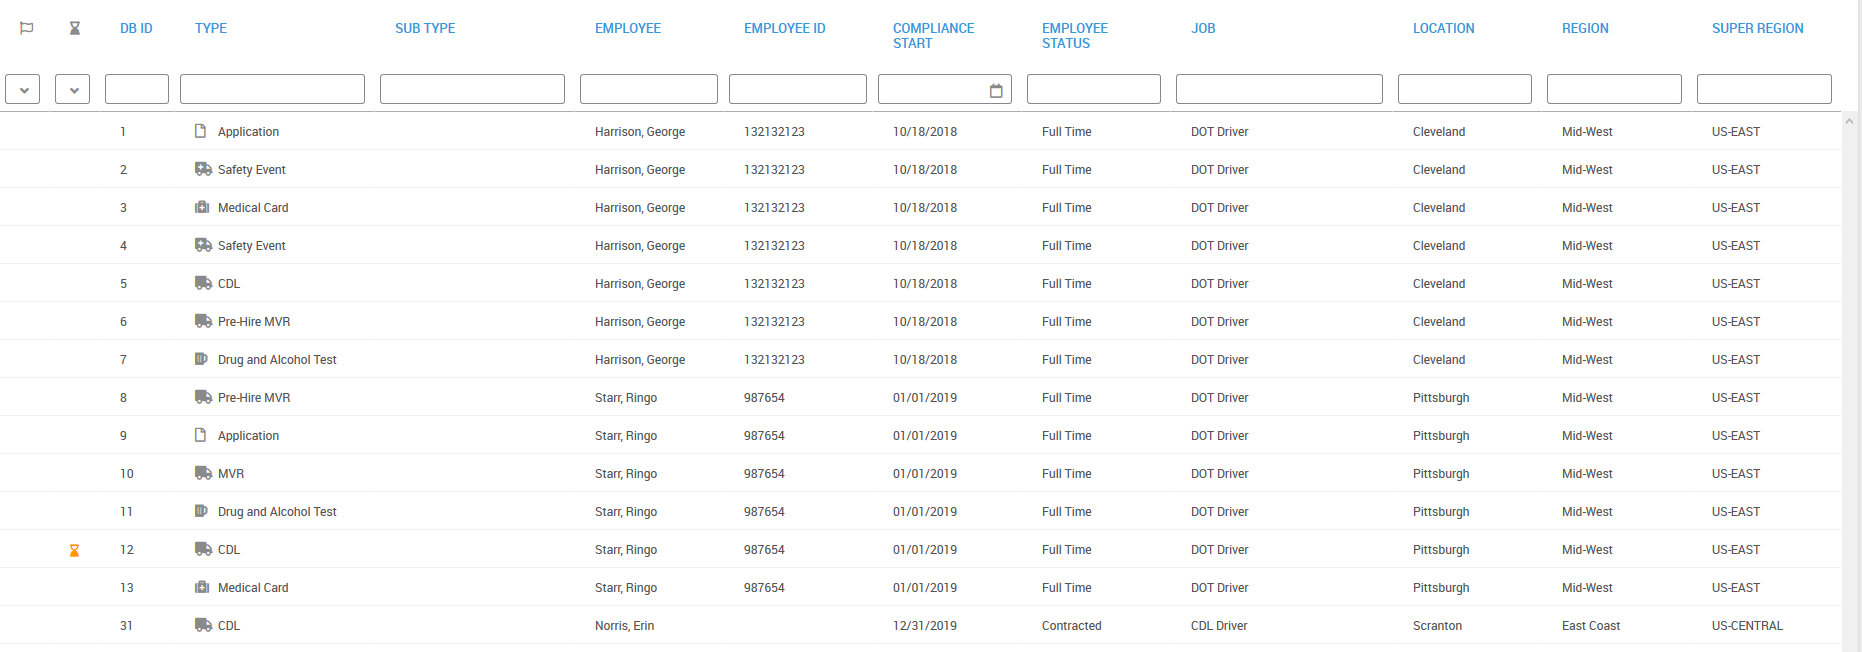
The main area of the dashboard shows a list of records sorted into different categories. You can sort your records alphabetically by clicking on one of the columns, and you can filter a certain column by clicking the empty text box beneath the filter name. You can also search each column by typing in your search terms.
By default, a certain configuration of columns will appear in the main Records Browser area. However, there are others available, which you can enable or disable by right-clicking anywhere in the column header area. You can save the combination of columns as a saved view, as is mentioned above.
Columns can be shuffled by clicking and dragging the column heading to the desired location.