Groups let you organize learners and automatically assign courses to everyone in the group. Common examples include safety groups, accident groups, or job based groups. Once a learner is added to a group, any courses assigned to that group are automatically assigned to the learner.
Table of Contents
Creating Groups
Adding Learners to a Group
Adding Courses to a Group
Using Dynamic Rules (Optional)
Video Guides
Creating Groups
-
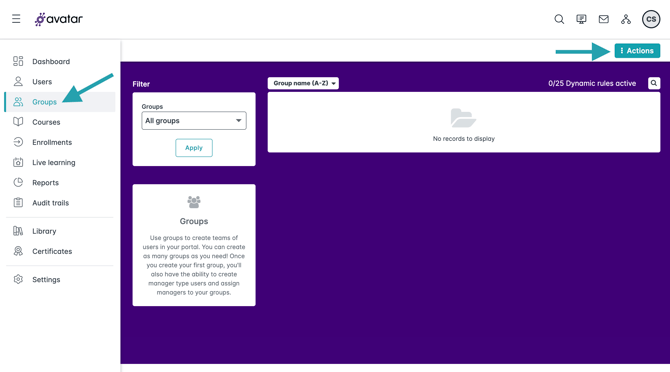
On the left-hand side navigation menu, click Groups, then click on Actions at the top-right.
-
Click Add Group.

-
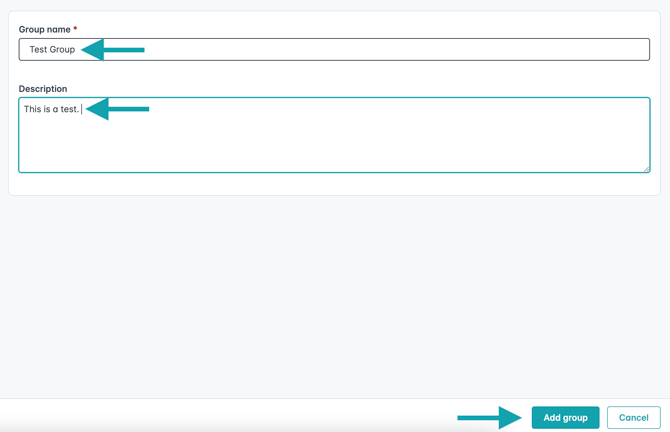
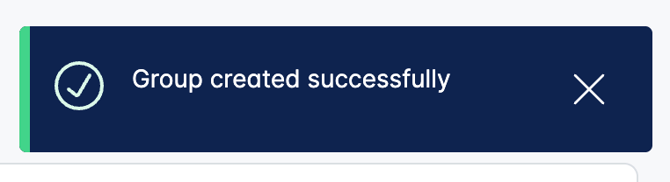
Enter a Group Name and optionally enter a Description, then click Add Group. You will see a message letting you know the group was created successfully.
Adding Learners to a Group
-
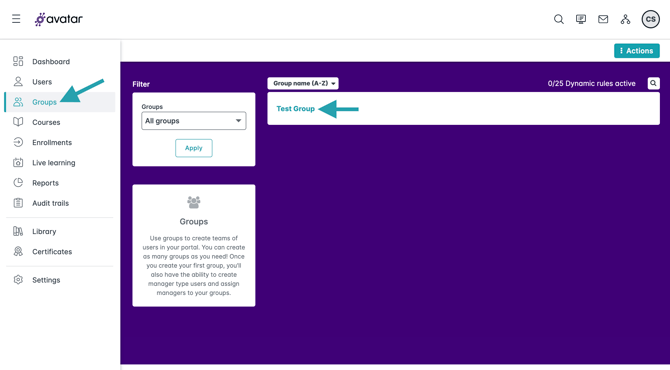
Navigate to Groups, then click on the group you want to add users to.
-
Click the Users tab at the top, then click on Actions.

-
Select Add User.

-
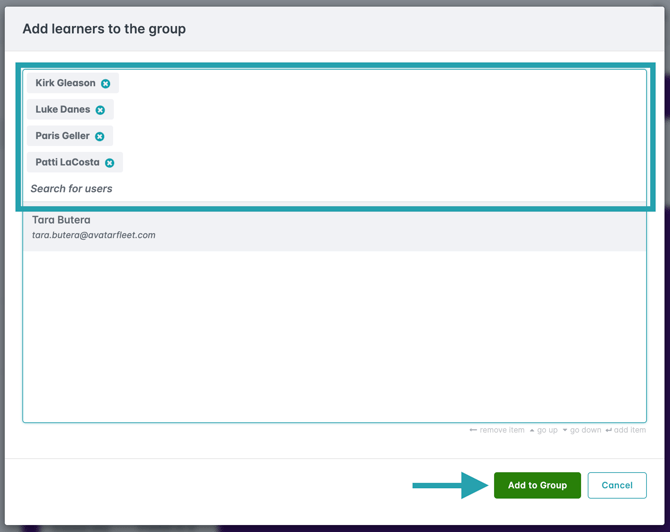
Search for the users you'd like to add to the group and click on each one to add them. Once you have chosen all the users you need, click Add to Group.
Adding Courses to a Group
-
Click Enrollments from the navigation menu.
-
Select the courses you want to assign to the group.
-
Use the Switch to Group on the right hand side to change from selecting users to selecting groups.
-
Select your group.
-
Click Enroll.
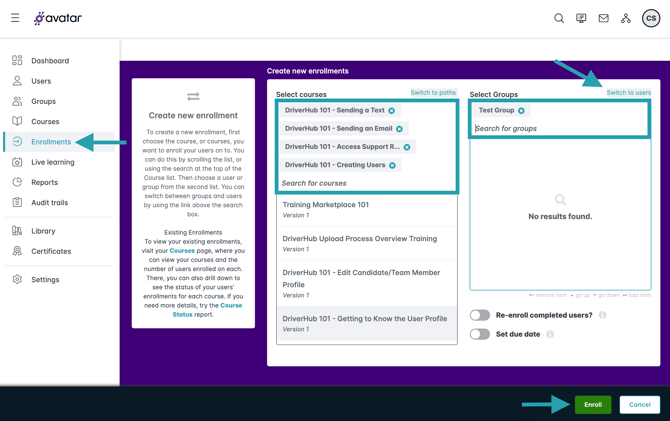
All current members of the group will be enrolled in the selected courses.
Using Dynamic Rules (Optional)
Dynamic rules automatically add learners to a group based on conditions you define.
-
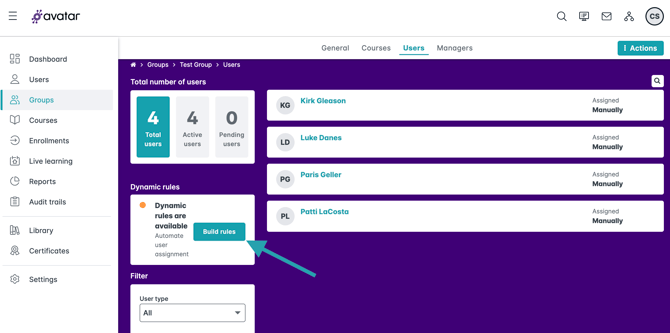
Open your group and click Users.
-
Click Build Rules.
-
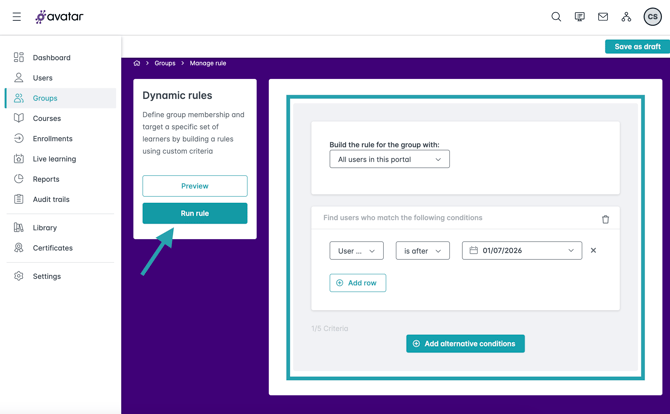
Add a condition such as Email domain or User creation date, then click on Run rule. The example shown below would automatically add any users that are created after 1/7/2026 to the group.
Video Guides