Sending a welcome email ensures candidates or team members can access their application or assigned tasks quickly and efficiently.
Table of Contents
Video Walkthrough
Step-by-Step Instructions
1. Create a User
When manually creating a user, you will be prompted to send a welcome email during the process. Select this option if you want the email to be sent immediately.
2. Access an Existing User
If a welcome email wasn’t sent initially or needs to be sent later:
• Navigate to the user’s profile.
• Locate the quick action icon (three dots) below the user’s name in the header.
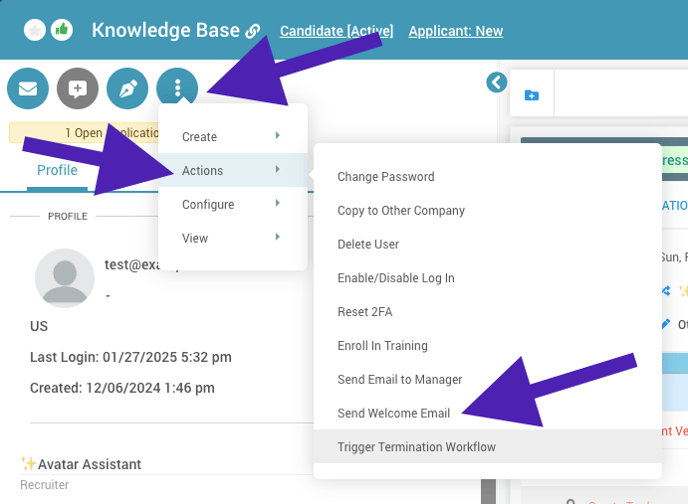
3. Send the Welcome Email
•Click the quick action icon.
•Hover over Actions in the menu that appears.
•Select Send Welcome Email from the submenu.
4. Confirm and Send
•In the confirmation window that appears, click Send Email.

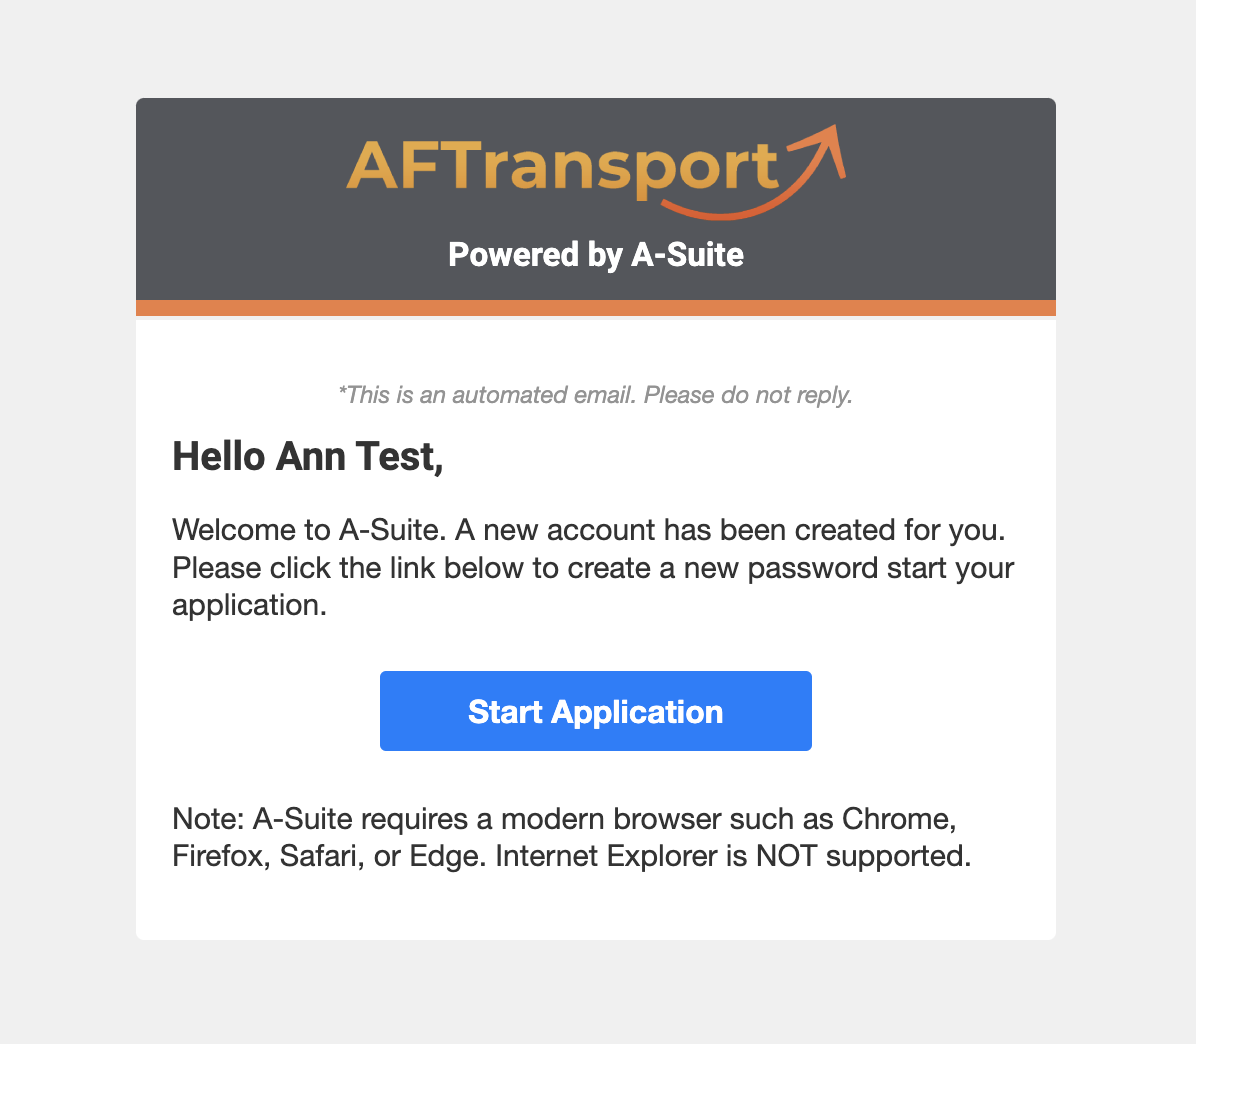
Congratulations! The welcome email has been sent successfully. This is what that email looks like on their end: